101 guide to hangboarding

Fingers. Climber's best work tool. Or that's what they say at least. There are two sides to this as good foot technique, other strength areas and flexibility can compensate a lot. Yet finger strength is possibly the single most important factor, and at least one that is simple to practice.

Hangboarding can't be recommended to everyone. Beginners' finger joints aren't yet strong enough to endure the load of fingerboarding and at the early level of climbing the most useful and effective way to progress is to climb a lot and a vary the climbing styles (holds and wall angles) to experience lots of different kinds of moves. Don't forget rest days!

They say that you should have climbed regularly for at least two years before hanging on a fingerboard. If you've climbed less but are still interested in hangboarding, we recommend to contact BK's coaches (contact info at the end of this article) as they will be happy to give you tips. You can get acquainted with hangboarding by putting a bit of weight on your fingers while still keeping your feet on the ground.

Juniors shouldn't train on a hangboard without a coach's consultation. 

Hangboards, those weird-looking wooden boards with slots hanging above door frames or at the climbing gym. Nowadays, there are lots of different ones from many brands, but you don't need any fancy one to get your training done. What matters is the depth of the rung (10mm, 15mm, 20mm...). To get results, you need consistent training (preferably years), time, rest and the right kind of nutrition. If you feel like you're not getting results, the problem is usually impatience and sticking to one programme. 

So what are the fundamentals?

Right load, grip and the right amoung of training with good enough rests. Let's go through these below.

Where to begin?

Number one rule: be well rested before hangboarding, preferably after having a rest day and at the beginning of your training (after warm-up). If you've been cranking on the Moonboard or have climbed all the new problems in the gym, it's not a good idea to do a hangboarding session next as you're not going to make maximal progress and the risk of injury is bigger.

Warm up properly, doing your routine, hanging with only bodyweight and maybe some light climbing. When your fingers feel warm, it's time to hang. Your form on the hangboard should be good with your scapulae engaged i.e. don't hang loose. Your grip should always be half crimp or open hand (see phtos below). Full crimping on a hangboard is not advised due to high risk of injury.

Half crimp

Open hand

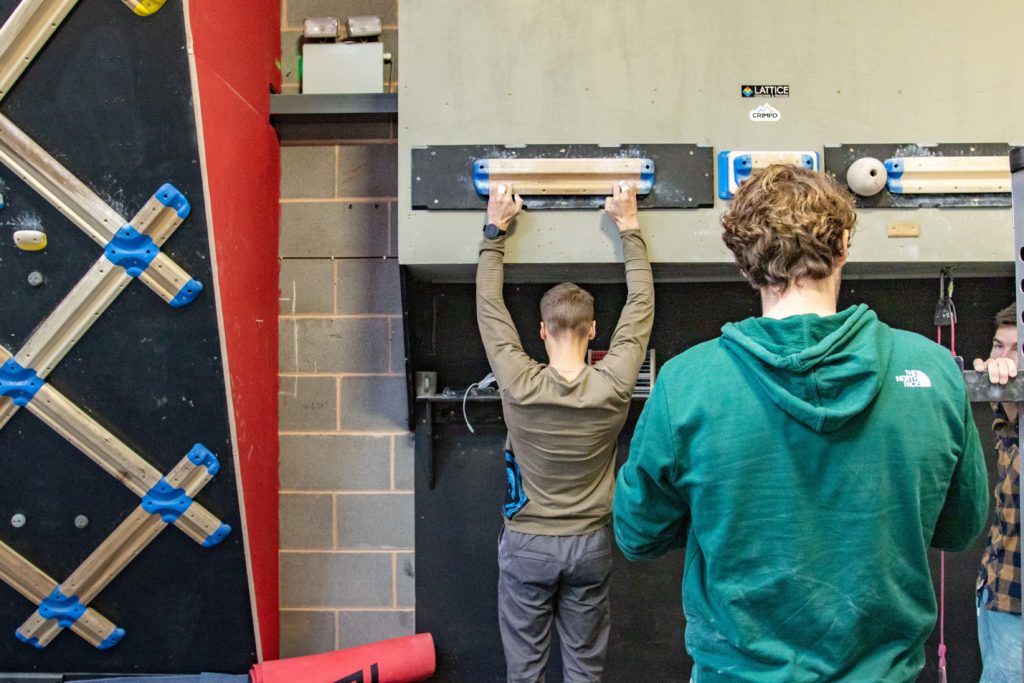
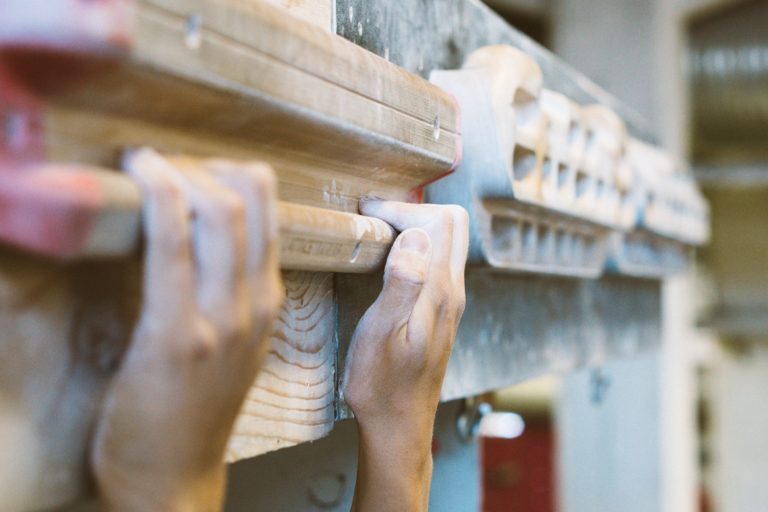
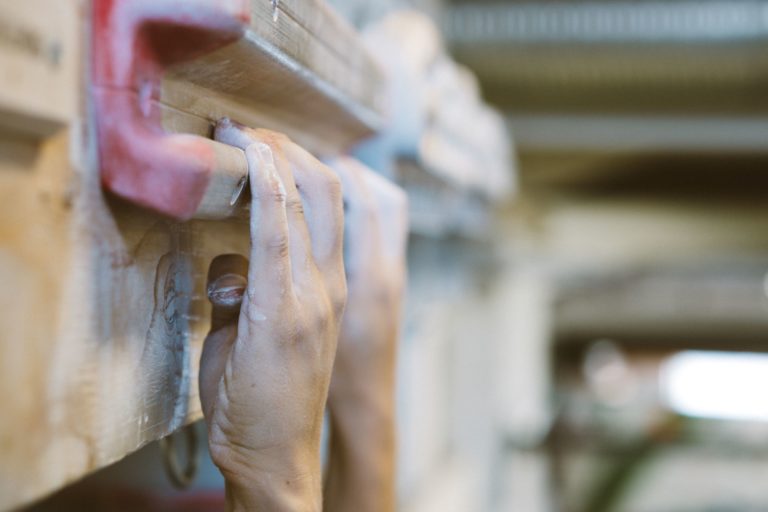
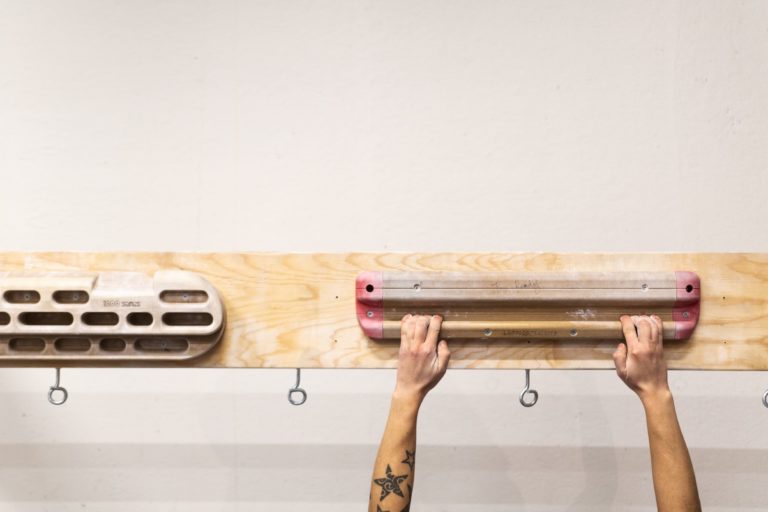
We recommend always starting fingerboard training with your own bodyweight, so that you learn the correct position and get a feel for hanging on the fingerboard. After some time, you should test the grips that suit you and possible additional weights: try which grip and which weights are suitable for the training program you're about to do (read more about these further below).

So basically the first training session is about trying out what weights are suitable for you. You should test the weights again every 6 to 8 weeks to see if you should adjust them according to the progress you've made.

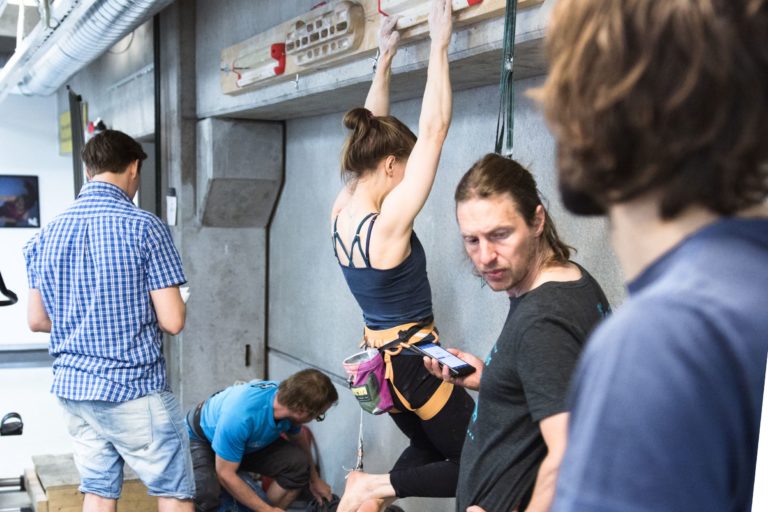
Depending on the program you're doing and your level, you might need to decrease some weight to be able to hang. Lightening the weights is possible with the pulley system and harness/weight belt. So in practice, you try out how much of your own bodyweight should be reduced so that you can hang for the required 10s, for example. By putting on the harness, attaching the string that passes through the winch system and a plate weight or kettlebell to the other end, you can reduce your hanging weight. Some of the workouts, such as strength endurance training, should be done with a weight that is about 60-80 percent of your maximum weight. For example, a 70kg person who can hang for 10s. with the chosen grip, with a maximum of your own body weight, you can reduce your weight for strength endurance training, for example, to 70% by adding 21 kg to the pulley system.

Which fingerboard should I choose?
From most gyms, you can find the familiar Beastmaker 1000 or 2000 - often both. The 1000 model has jugs on top and larger slots, the 2000 one has tougher slopers but both have the essential 15 mm and 20mm "edges" to hang from. Lattice Testing & Training Rung is a lot minimalistic by design but is equally good (minus the slopers) with a good juggy upper rung and a perfect 20mm rung for training. Lattice's newest addition, Triple Rung, has a 10mm edge as well.
If you're going on a trip or are looking for a hangboard to warm-up on the rock, YY Vertical has lots of travel-sized options: Baguette, Penta, Triangle and Travel Board. Lattice has some nice new ones too! Check them out here.

Beastmaker 1000 and Lattice Testing & Training Rung

For the training itself: there are several options. Some swear by Eva López's training program, others hang crazy amounts following Beastmaker's own program (Editor's note! Really hard!) and others develop their own routine, strengthening their own weaknesses. The following three options work for different things. They are simple but functional and the first one is very beginner friendly. Although here we have named it as suitable for beginners, it is equally suitable for those who have been training on the hangboard for a long time. Here you are:

Beginner's fingerboard training: minimum edge

  • Choose the smallest edge/rung you can hang on for 15 seconds
  • Hang for 12 seconds and rest for 3 minutes 
  • Repeat 4 to 5 times
  • You can do several sets of 4-5 hangs. Rest 5 minutes between each set. 

Max hangs

  • Choose an edge you can hang on for 12 seconds (for example 20mm edge). Add weights if necessary. 
  • Hang for 7 to 10 seconds and rest 2 minutes
  • Repeat 6 times
  • Note! You might not feel fatigued after this, but be cautious not to load your fingers too much after max hangs especially if you are not used to doing them.

Repeaters “7-3” (power endurance)

  • Choose an edge you want to work on. 
  • Power endurance hanging should be done on 60-80 percent of your own weight. Add weights or take some weight off with a pulley if needed.
  • Hang for 7 seconds and rest for 3 seconds
  • Repeat 6 times. This is one set.
  • You can do 3 to 6 sets. Rest for 2-3 minutes between sets.

Aloittelijalle sopii hyvin ensimmäinen ohjelma, joka tutustuttaa otelautailun maailmaan. “Minimi edge tarkoittaa sitä, että lisäpainoa ei laiteta, vaan harjoitus toteutetaan pienimmällä mahdollisella otteella. Maksimiroikunta, jossa roikutaan 10s., on huomattavasti vaativampi, koska tähän valitaan vähän lisäpainoja mukaan“, selittää Tiainen.

Maksimiroikunnat vaikuttavat hermostoon ja sitä kautta lihassolujen kykyyn tuottaa maksimaalista voimaa: toisin sanoen lihassoluista saadaan ns. “kaikki irti”. Ihmiskeho pyrkii aina taloudellisuuteen, myös lihassolujen osalta, joten niitä pitää herätellä aika ajoin toimintaan. Maksimitreenissä pyritään tekemään jokainen toisto suhteellisen pitkillä levolla niin, että saa annettua 90-100% jokaisessa roikunnassa. Muuten treeni ei ole maksimitreeniä. Roikunnan jälkeen ei välttämättä ole edes uupunut olo.

Voimakestävyystreenissä taas pyritään siihen, että viimeisten sarjojen jälkeen kädet ovat suorastaan voimattomat. Voimakestävyyttä treenaamalla saadaan säilytettyä voimatasot ja lisäpaukut reittien vikoillekin muuveille.

Kuinka usein otelautatreeniä sitten tulisi tehdä? Nyrkkisääntö on, että ainoastaan kerran viikossa. Kun olet treenannut pidempään otelaudan kanssa, alat oppia kuinka sormesi palautuvat edellisestä treenistä ja tiedät milloin kroppasi on valmis seuraavaan rutistukseen.

Why is rest and nutrition important?
In short and simply put: development only happens during rest. Without necessary rest, muscles and tendons of the fingers do not have time to recover from the strain brought by the training. But when they get enough rest and your body has enough energy, they come back from the workout stronger than before.

Progress takes time. Give yourself and your fingers time to develop. If you haven't done hangboard training before, you may see results very quickly. However, there are no shortcuts as development requires long-term work. It's important that you don't do too much, too often or the same workout month after month. Of course, you shouldn't change your training program every week, but the body gets quickly used to the training if the load is always the same. It often takes a while for the power acquired on the fingerboard to actually transfer to the wall itself and to your climbing. So have patience, your fingerboard training will most likely pay off! 

Get some help from books and coaches
If you need assistance or support for your training or you're interested in testing your abilities as a climber, Boulderkeskus' professional coaches are here to help you! See our coaching and courses here. More information also via email coaching@boulderkeskus.com.

We've got lots of books about coaching available at BK shops and online, such as Beastmaking and Training for Climbing by Eric Hörst. Our staff will be more than happy to tell you more about them and give you recommendations!

Product added to compare.
We use cookies to customize and improve the content. By clicking "Accept", you confirm the use of all our cookies.