How to start outdoor climbing – 101 guide to outdoor bouldering
Sun is shining and the climber's fingers are tingling! It's time to get to know outdoor bouldering.
Transitioning from plastic to stone can seem difficult, at least if you have to do it alone, without the help of more experienced friends. But don't worry, the advice in this post will get you started safely.
Where to go?
Digital native climbers' best friend is the pocket-sized topo aka the Finnish, yet worldwide, online climbing guide 27crags. There you can find nearby climbing crags, photos of the routes as well as descriptions (where does the route start, grade and other useful or not so useful information). Some crags (most of the more visited Helsinki area crags) are part of the premium subscription while some are free community-topos. We highly recommend getting the premium subscription of the app to get the most out of outdoor bouldering!

New bouldering spots and routes are being opened all the time in the Helsinki surroundings and the 27crags is the most up-to-date topo available. However, if you still prefer to use a more convetional book topo, there is one (in Finnish) called Etelä-Suomen Bouldertopo. It is out of stock and no new publications are being released, but you might get lucky and find one second-hand for example in the Facebook group called Kiipeilykirppis.
Some excellent spots for beginner outdoor climbers in the Helsinki metropolitan area are for example Lintukallio, Taivaskallio, Fallbacka, Hanikka and Vuohimäki.
To know if there's anything interesting to climb for you at a specific spot, check the grade distribution of the routes at each crag from the topo!
Note! A sit start or SDS (sit down start), assis in french, means that your behind must touch the crash pad when starting the boulder problem. It is favorable not to stack pads for the start as some sit starts become considerably easier the higher you sit. A stand start is when the problem starts standing up. There exists a an in-between called a crouch-start or low crouch start which can often be a bit confusing to more experienced climbers too.
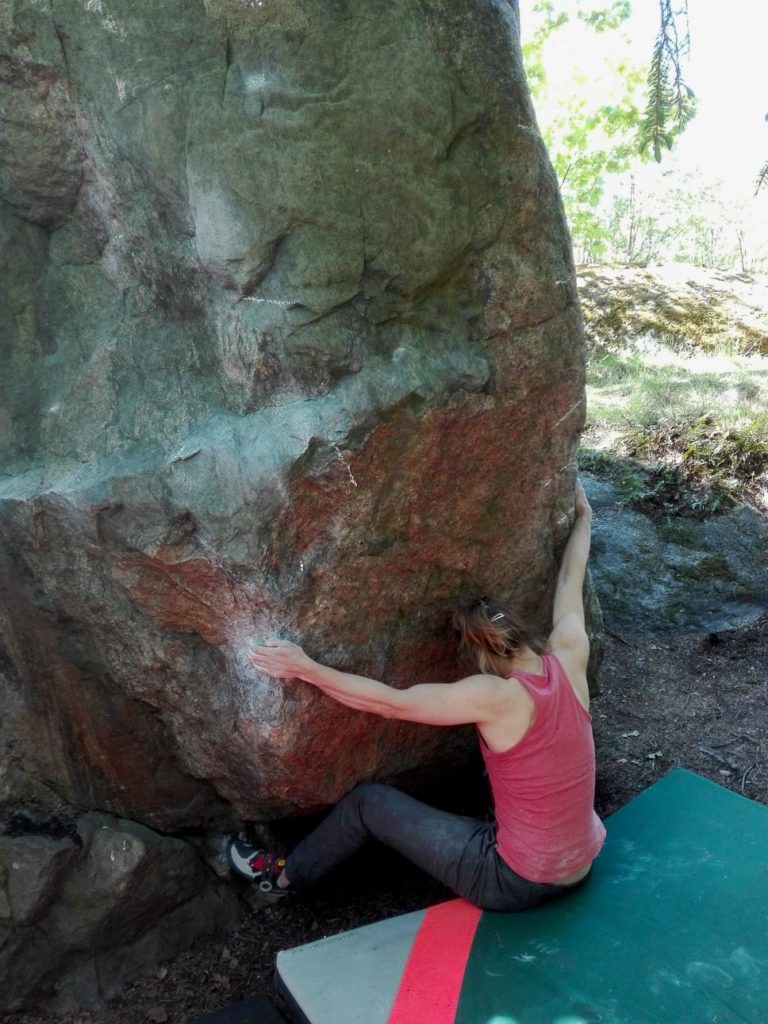
A tough sit-start
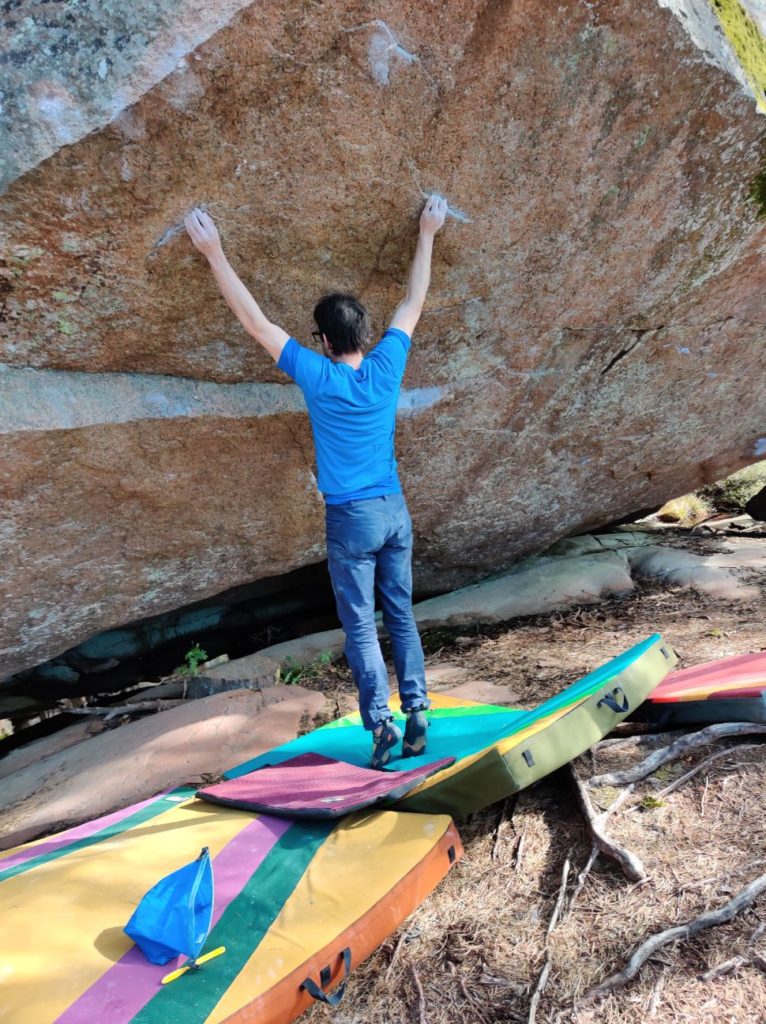
A tough stand-start
So now that you've chosen where to go, let's go! Oh wait, what about do you need to climb outdoors?
What to bring?
The most important things you need are of course fitting climbing shoes and quality crash pads so that you dare to try hard! In addition, it's good to have tape for fingers, warm-up gear, chalk and, most importantly, snacks!
Sending shoes
To find climbing shoes ideal for your feet, ask our expert staff at Boulderkeskus to help you. You can check our climbing shoe selection here.
Note! You get to free climbing tickets when you buy full-priced climbing shoes at BK shops.
If your shoes start to be a bit too worn-out for tiny foothold on Finnish granite, resoling your shoes is a good and sustainable option. At BK, we offer a climbing shoe resoling service in co-operation with Shoedoctor. Your shoes will be as good as new, yet keeping their old comfy fit.
Crash pads
The highest quality (and most beautiful) crash pads are no-doubt Organic Climbing's unique crash pads. At Boulderkeskus, we have a big selection of different models to fit your needs:
- Very big and robust Big Pad
- Compact yet still safe Full Pad
- Suitable as an extra pad Briefcase Pad
- Blubber Pad aka magic carpet which helps cover up small gaps in between pads and save some ankles
- The lovely “fonts pad” that is Slider Pad for the narrow spaces where a normal pad doesn't fit
- Backfourty Pad: same as Big Pad but with a better and more comfortable carrying system. Especially nice for longer approaches or if you're carrying several pads at once with a Load Flap.
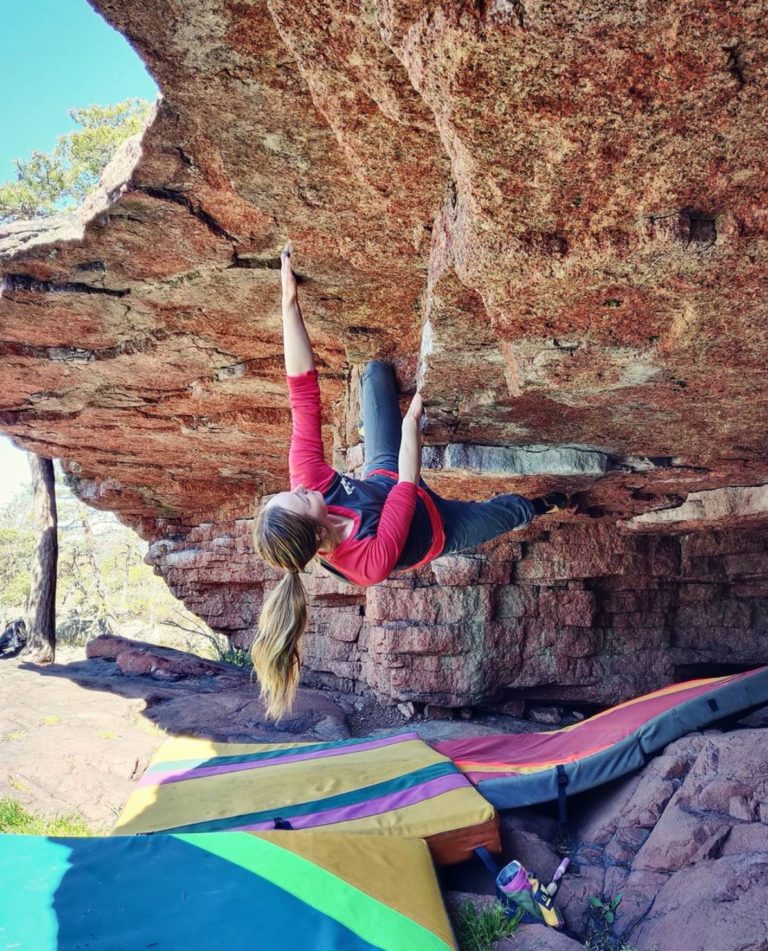
Organic pads in all their splendor under the Åland sunshine.
If you don't want to buy a crash pad first thing, you can always rent one: Padadise is a crash pad rental company that also works via BK gyms but also wordlwide in Fontainebleau, Rocklands, Albarracin and Alcaniz. Book the crash pad you want online, choose the date and time and collect it at the BK gym of your choosing!
Skin
Finnish rock is mostly cold and rough. This means that skin is having a hard time to keep up and the sessions usually ends before you want it to when the last bits of skin providing friction are gone. Good tape is crucial in these situations and with a skinfile you can file away the thickest parts of your skin to not get nasty flappers. So be sure to pack some tape and sandpaper/hand file in your climbing bag.
Magnesiumia chalk is needed outdoors too. There are some differences between brands and you'll find your favorite only by trying them out yourself. BK team's favorites are Friction Labs' chalks and the super silky Tokyo Powder. For sweaty or worn out finger tips, liquid chalk works well on its own or as a base before powder chalk. Black Diamond's Black Gold is good classic liquid chalk.
After climbing, dry and worn out skin is screaming for some hydration like Rhino Repair or Split+. As a thicker cream, ClimbOn is perfect for night time. After some good skincare routine, you'll be back at your project in no time!
What else?
Pack along a climbing brush to clean the holds and brush the biggest chalk build up and tick marks before leaving the crag.
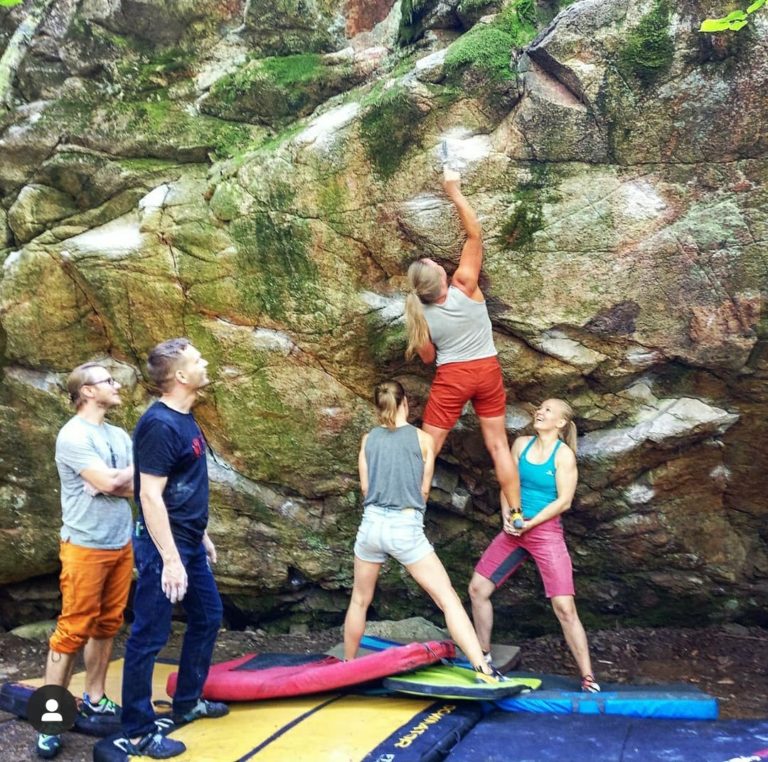
Some expert-level brushing activity by the women in the team.
Last but definitely not least: make sure to pack enough snack and water to keep your energy levels high! Coffee or tea in a thermos is never a bad idea either. And of course bubbly to celebrate new grades and super sends. Remember to take all your trash home with you!
What happens once your at the rocks?
Warm-up
We recommend a proper warm-up before attacking your project! A rubber band to get your shoulders moving or a forearm trainer to get some blood in your finger tips. Portable hangboards are very convenient to warm-up your fingers properly at the crag. Besides fingers and shoulder, remember to warm-up your knees, hamstrings, wrists, biceps and ankles. Climb some easy problems to get a feeling of the rock and move your body.
Placing crash pads
When you've found your way to the crags and a problem you'd like to climb, it's time to palce the crash pads safely before putting on your climbing shoes. Make sure that the crash pads cover the potential falling zone entirely: usually the pads are too close to the rock even though you can fall quite far away especially from the upper-part of the route. Try to think of the moves and in which direction you could fall mid move. Often the route goes a bit sideways and not only upwards. If your climbing with a friends and don't have quite enough pads, they can also relocate them as you're climbing (e.g. on traversing routes).
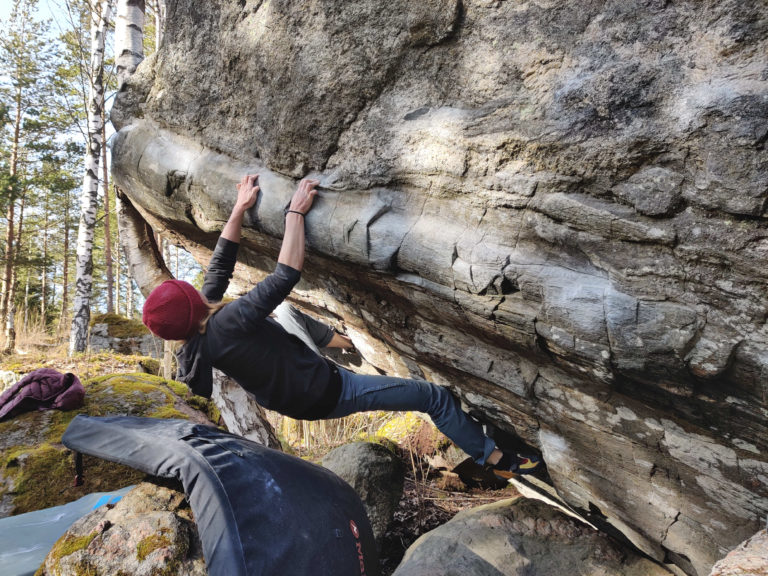
A spooky rock behind you can become less intimidating when properly covered-up.
Most importantly: check for potential danger zones like rocks or big roots, gaps between pads (make sure that there aren't any) and uneven landing i.e. the zone you fall on. Gaps between pads are often the cause of sprained ankles. You can prevent accidents by placing the pads in a way that the seam of the pads is in a spot where you're less likely to fall directly and place a Blubber or slider pad on top of seam (see list of crash pads above). A good combo of crash pads is one big pad, one smaller and a Blubber or Slider Pad just in case. Depending on the route and terrain, it's good to place the smaller pad closer the to rock (start of the problem) and the big pad where you're likely to faal from high-up.
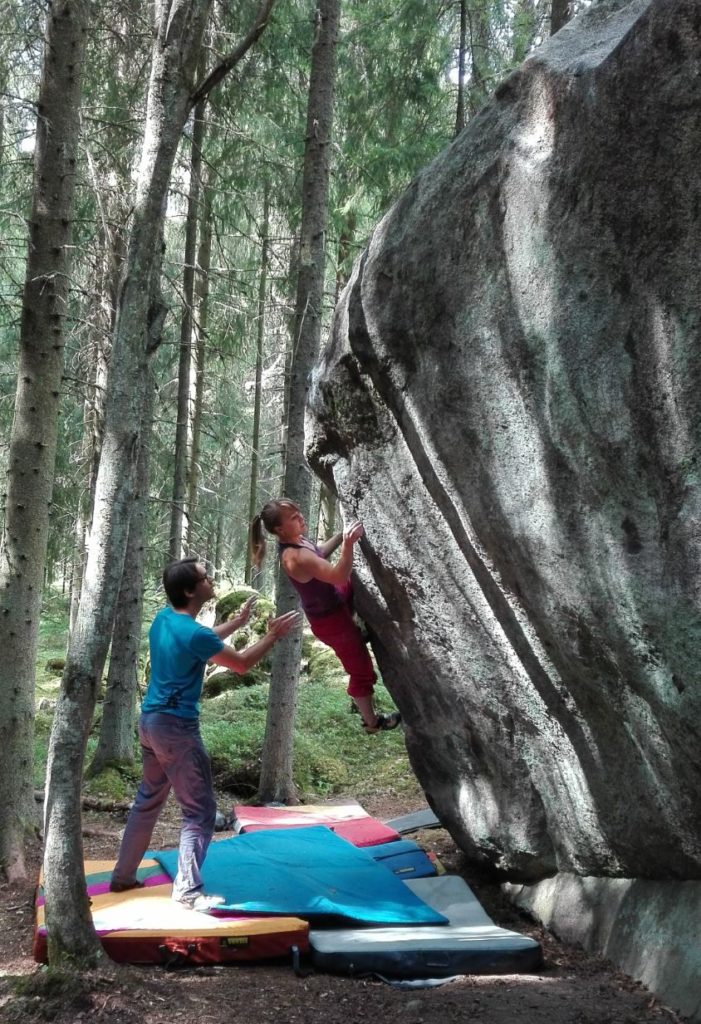
Organic Climbing's Blubber Pad is narrow but covers a big surface so it's ideal to put on top of other pads to prevent ankle sprains.
Spotting
Spotting means when a someone is guiding the climber to land safely on the crash pads to prevent injuries. Spotting doesn't mean catching the falling climber with your hands, but stopping the trajectory of the fall once the climber has touched the pads or to push them towards the pads if the climber looks like he is going to miss the crash pads.
A good spotter is ready like a goal-keeper: hands out of pockets and eyes on the climber. The best is to push the climber above their center of weight so above the hips around the shoulder blades so they don't miss the crash pads. It's good to discuss with your spotter(s) if you are concerned about a certain landing spot or are trying a new beta with maybe an unexpected swing or fall (e.g. dyno).
Note! Keep your hands up and ready when spotting and watch out for your thumbs so that they don't sprain when catching/pushing the climber.
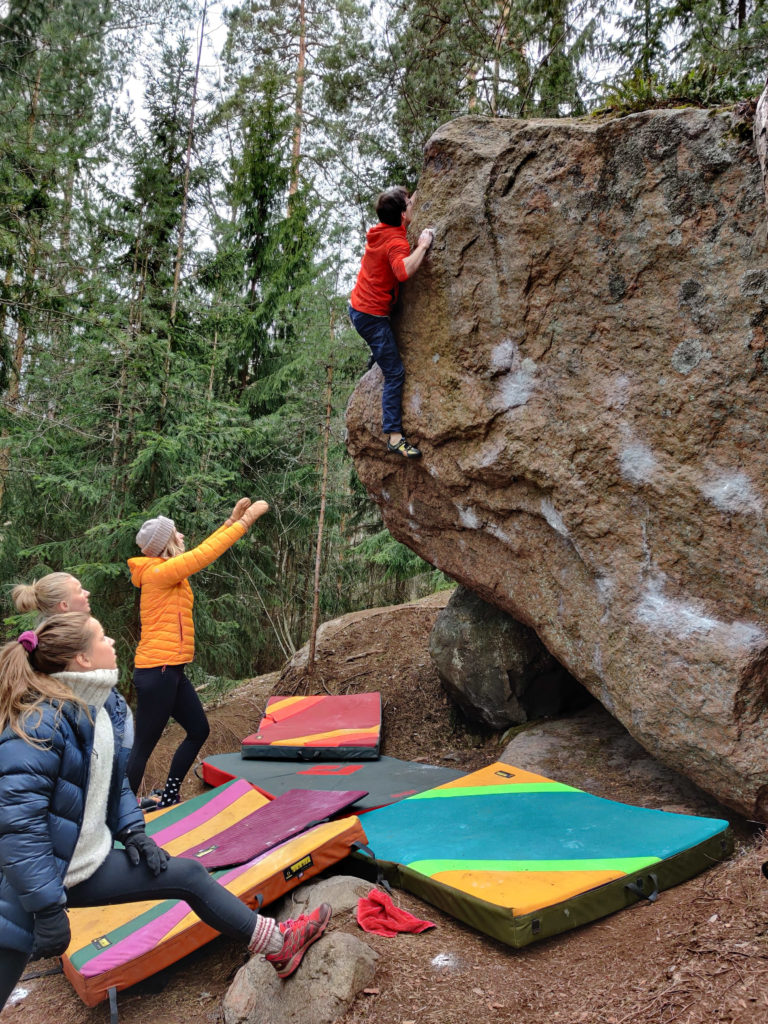
Spotter hands up and ready to make sure the climber is safe.
As a spotter, remember to stay calm and encourage the climber. If the climber is nervous, it's often nice to reassure him by telling that the pads are placed well (if true) and that you've got them. If you're moving the pads mid-climb, tell the climber you're doing that so they don't get spooked by the shuffling noise.
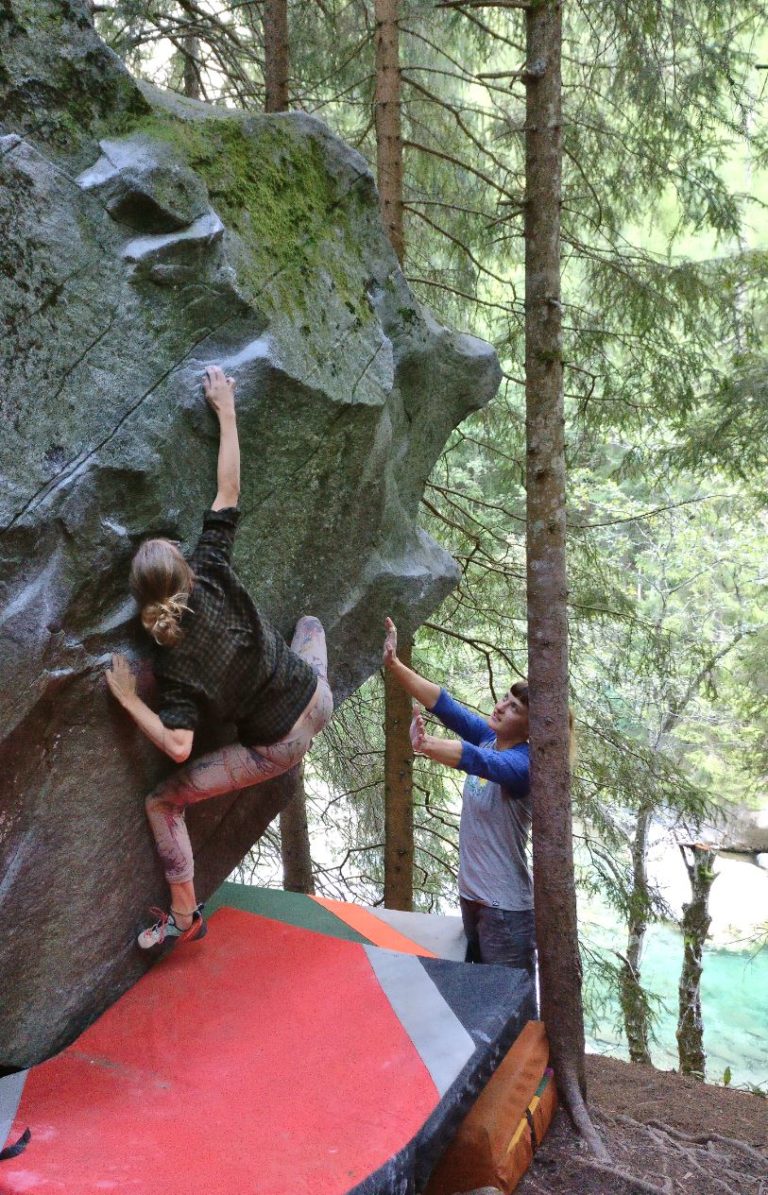
Spotter making sure that the climber doesn't hit the tree.
Brushing
Brushing holds is always cool - inside and outdoors! When the extra chalk, spruce needles and twigs are off, getting up the rock is more likely and definitely safer. Please brush off your chalk on the holds and possibly tick marks when leaving the crag!
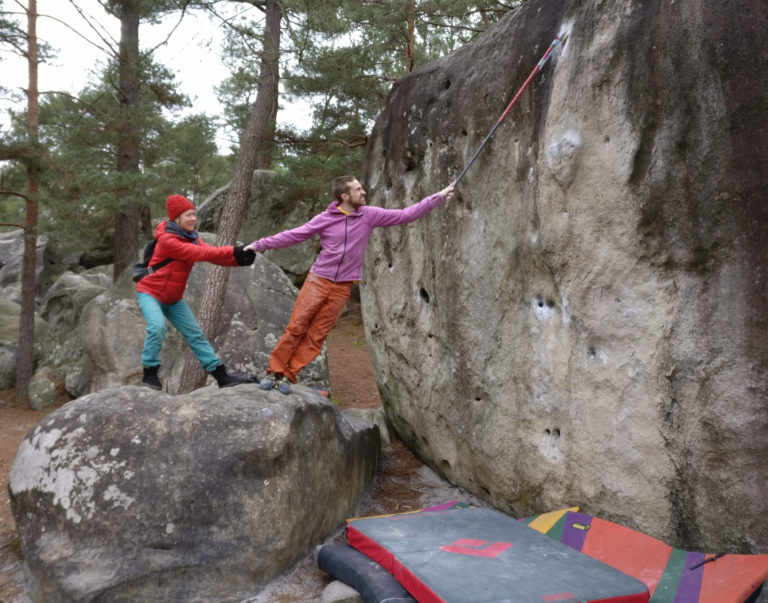
Sometimes even a long brush isn't enough and you need a little help from a friend.
Champagne!
When you climb something very hard for you or climb a new grade, you've deserved champagne (or the drink of your choice or something else to celebrate your send). This is tradition is an essential part of outdoor climbing so make sure to have something in your fridge to treat yo self!
Last but most importantly: outdoor climbing ETIQUETTE
When climbing outdoors one needs to respect nature and other people! More information can be found from the website of the Finnish Climbing Accociation's page here. In short:
- Follow SKIL Access Facebook page @SKIL access and check the access tab's info from 27crags: follow the information and the rules regarding each crag
- If you use a car, only park in legal spots and so that your car doesn't block anyone. Check the suggested parking spots from the topo. If the parking is full, go to another crag.
- Leave your phone number to your car's windscreen so you can be contacted if your car is on the way.
- Use ready-made paths so that the forest floor is worn as little as possible. Do not walk through fields or yards nor too close to housing when going to the crag.
- Be kind to other climbers, landowners and other nature users. Actually: be kind to everyone. Always.
- Don't make noise (no music please) or litter or act like a dork. This is pretty basic stuff.
- When you leave, collect with you all your own things and trash and take other people's trash too if someone has left something at the crag.
- Brush the excess chalk and tick marks after you're done.
- You always need a permit for making a fire.
- If you want to open your own problems, please read the instructions by FCA first here!
- Respect nature and get to know everyone's rights!
And hey join a climbing club! As a member of BK Climbers ry you get a good climbing insurance in case of accidents and good discounts at Boulderkeskus.
Wishing you nice times on the rocks,
BK Team <3


